
Creating and submitting a new order in MEPHUB is simple. Follow the steps below to keep your projects moving.
✅ Step 1: Go to the Orders Page #
From the main navigation, click Orders to access the order dashboard.
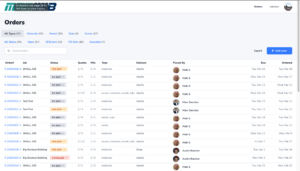
Here you’ll see:
- All your active orders
- Filters by Type or Status
- Who placed the order and when
✅ Step 2: Click “Add Order” #
In the top right corner, click the “+ Add Order” button to start a new order request.
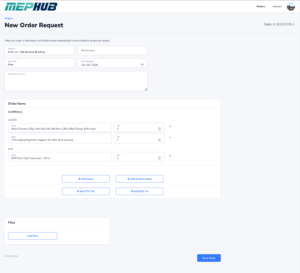
✅ Step 3: Fill Out Order Details #
Complete the following fields:
- Jobsite: Select the job or project this order belongs to
- PO# (Optional): If you have a PO number, add it here
- Delivery: Choose where it should be delivered (Jobsite or Shop)
- Date Needed: Select the required date
- Job Notes (Optional): Add any important notes or instructions
✅ Step 4: Add Order Items #
Use the item selectors to add materials, rentals, or assets.
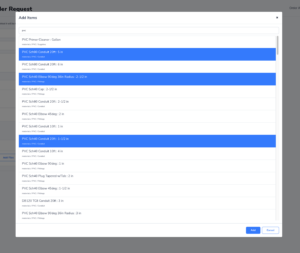
- You can add items by searching for item names or cateogries.
- Then select as many items from the list as your need and click “Add”
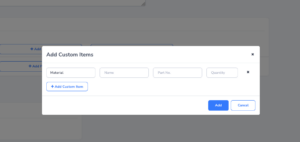
- Not finding the item you need, you can order custom items
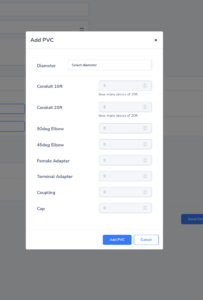
- Ordering a bunch of PVC or EMT, or something else tricky? Use a Smart Kit to streamline your ordering.
✅ Step 5: Attach Files (Optional) #
Attach any supporting documents, plans, or specs by clicking “Add Files”.
✅ Step 6: Save Draft or Submit #
- Drafts auto-save as you work.
- When ready, click “Send Order” to submit.
✅ Step 7: Review the Order #
After submitting, you’ll land on the order detail page.

Here you can:
- Review order items
- Check due date and delivery location
- Confirm who placed the order
- See the current status (e.g., Submitted, RFQ Sent)
✅ Done! #
Your order is now in the system. MEPHUB will handle forwarding it for quotes and tracking status updates.
💡 Pro Tip: #
You can always return to the Orders Dashboard to monitor the status of your orders, view quotes, or update as needed.
❓ Need Help? #
Contact your Org Admin or reach out to support if you need assistance with placing an order.